
Master the art of tri-clamp fitting installation with this comprehensive guide covering proper techniques, torque specifications, gasket selection, and troubleshooting tips for leak-free sanitary connections in brewing systems.
Sanitary connections form the backbone of professional brewing operations, and mastering tri-clamp fitting installation separates amateur setups from commercial-quality systems. These precision-engineered fittings provide the gold standard for food-grade connections, delivering leak-proof performance while enabling easy disassembly for thorough cleaning and maintenance.

Key Takeaway: Proper tri-clamp fitting installation requires specific torque values (25 in/lb), correct gasket selection, and systematic assembly procedures. Professional installation techniques prevent leaks, contamination, and equipment damage while ensuring compliance with sanitary standards.
The transition from threaded connections to sanitary fittings represents a fundamental upgrade in brewing system design. Unlike traditional NPT fittings that create crevices and dead zones where bacteria can harbor, tri-clamp connections provide smooth, cleanable surfaces that meet the strictest food safety requirements.
Understanding Tri-Clamp Fitting Fundamentals
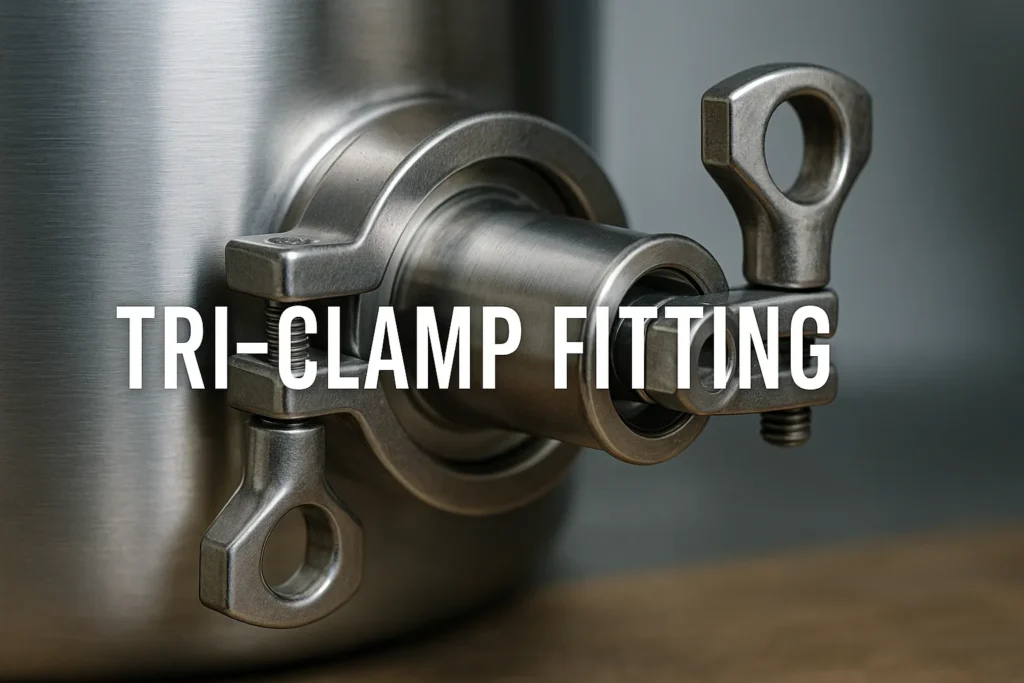
Tri-clamp fittings, also known as tri-clover fittings, consist of four essential components working in harmony to create secure, sanitary connections. Understanding each element’s role ensures proper installation and optimal performance throughout the system’s operational life.
Core Component Analysis
The tri-clamp system relies on precise mechanical interfaces between standardized components. Each element serves a specific function in creating the leak-proof seal that defines professional brewing operations.
Essential System Elements:
- Ferrules (flanged ends) that mate precisely together
- Gaskets providing the sealing interface between ferrules
- Clamps securing the connection with controlled pressure
- Hardware including wingnuts or bolts for final assembly
The elegance of tri-clamp design lies in its simplicity. Unlike complex threaded connections requiring pipe dope or Teflon tape, tri-clamp assemblies rely on mechanical compression of a gasket between two precisely machined surfaces. This design eliminates contamination pathways while enabling repeated assembly without performance degradation.
Sizing and Compatibility Standards
Tri-clamp sizing follows industry standards based on the outer diameter of the tubing or pipe, not the flange diameter. This standardization ensures compatibility between manufacturers and simplifies system design across complex brewing installations.
| Tube OD | Clamp Size | Flange OD | Common Applications |
|---|---|---|---|
| 0.5″ | 3/4″ | 0.984″ | Sample ports, small connections |
| 0.75″ | 3/4″ | 0.984″ | Drain valves, sight glasses |
| 1.0″ | 1.5″ | 1.984″ | Transfer lines, pump connections |
| 1.5″ | 1.5″ | 1.984″ | Main process lines |
| 2.0″ | 2″ | 2.425″ | Large volume transfers |
| 3.0″ | 3″ | 3.437″ | High-capacity applications |
Professional installations require careful attention to tri-clamp sizing to ensure proper fit and performance. Mismatched components create leak pathways and compromise system integrity.
Gasket Selection and Material Properties
The gasket represents the critical sealing element in any tri-clamp connection. Proper material selection based on application requirements, temperature ranges, and chemical compatibility determines system reliability and safety.
Material Comparison and Applications
Different gasket materials offer distinct advantages for specific brewing applications. Understanding these characteristics enables optimal selection for each connection point throughout the system.
Silicone Gaskets:
- Temperature range: -58°F to 446°F (-50°C to 230°C)
- Excellent flexibility and sealing properties
- Clear appearance for visual inspection
- Ideal for general brewing applications
- Can become gummy with strong acids/caustics
EPDM (Ethylene Propylene Diene Monomer):
- Temperature range: -30°F to 300°F (-34°C to 149°C)
- Superior resistance to acids and caustics
- Black color conceals discoloration
- Excellent all-around choice for brewing
- Not suitable for petroleum-based products
PTFE (Polytetrafluoroethylene):
- Temperature range: -100°F to 500°F (-73°C to 260°C)
- Outstanding chemical resistance
- Hard material requiring higher torque
- Ideal for rotating connections
- More expensive than elastomeric options
Viton (Fluoroelastomer):
- Temperature range: -25°F to 400°F (-32°C to 204°C)
- Excellent oil and fat resistance
- Superior chemical compatibility
- Not food-safe for direct contact
- Ideal for fuel and chemical applications
Professional gasket selection requires matching material properties to specific application requirements. Temperature extremes, chemical exposure, and cleaning protocols all influence optimal material choice.
FDA Compliance and Food Safety
Food-grade applications require gaskets meeting FDA regulations for direct food contact. USP Class VI certification ensures materials meet biocompatibility standards for pharmaceutical and food processing applications.
Compliance Requirements:
- FDA 21 CFR 177.2600 for rubber articles
- USP Class VI for biocompatibility
- 3-A Sanitary Standards for dairy applications
- USDA acceptance for meat processing
- NSF certification for drinking water contact
These certifications provide assurance that gasket materials won’t contaminate products or pose health risks during normal operation. Professional installations always specify compliant materials regardless of cost premiums.
Step-by-Step Installation Procedures
Successful tri-clamp installation follows systematic procedures that ensure proper alignment, adequate sealing, and long-term reliability. Professional techniques minimize installation time while maximizing connection quality.
Pre-Installation Preparation
Proper preparation prevents installation problems and ensures optimal performance. Clean, inspect, and organize all components before beginning assembly to avoid contamination and damage.
Preparation Checklist:
- Clean all ferrule surfaces with appropriate solvents
- Inspect gaskets for damage, contamination, or aging
- Verify component compatibility and sizing
- Organize tools including torque wrenches and gauges
- Ensure adequate lighting and workspace access
Component cleanliness directly impacts seal quality and system performance. Oils, debris, or oxidation on ferrule faces create leak pathways that compromise connection integrity. Professional installations use lint-free cloths and appropriate cleaning solvents to achieve mirror-finish surfaces.
Gasket Installation and Alignment
Proper gasket placement ensures optimal sealing while preventing installation problems. Incorrect alignment represents the primary cause of tri-clamp connection failures in professional installations.
Installation Sequence:
- Center gasket in the groove of one ferrule
- Verify complete seating around circumference
- Check for foreign material or damage
- Align mating ferrule carefully
- Verify gasket remains centered during assembly
The gasket groove provides mechanical retention preventing gasket displacement during assembly. However, careful alignment ensures the gasket doesn’t shift or bunch during connection, which creates leak pathways and potential contamination sites.
Clamp Application and Tightening
Clamp installation requires controlled force application to achieve proper gasket compression without damage. Professional installations use specific torque values rather than “feel” to ensure consistent results.
Tightening Procedure:
- Position clamp around both ferrules
- Ensure clamp groove engages ferrule ridges
- Hand-tighten wingnuts until snug
- Apply specified torque using calibrated wrench
- Verify even compression around circumference
The recommended torque specification for standard tri-clamp wingnuts is 25 inch-pounds (2.8 N·m). This value provides adequate gasket compression while preventing over-tightening that can damage components or create installation problems.
Professional Installation Techniques
Advanced installation techniques distinguish professional installations from amateur attempts. These methods ensure consistent results while minimizing component wear and maintenance requirements.
Torque Management and Control
Proper torque control prevents both under-tightening that allows leaks and over-tightening that damages gaskets or clamps. Professional installations use calibrated tools and systematic procedures for consistent results.
Torque Control Methods:
- Calibrated torque wrenches for precise measurement
- Torque-limiting drivers preventing over-tightening
- Visual torque indicators for quick verification
- Documentation of torque values for maintenance
- Systematic tightening patterns for even compression
Torque management tools eliminate guesswork while ensuring consistent installation quality. Professional-grade tools justify their cost through improved reliability and reduced maintenance requirements.
High-Pressure Installation Considerations
High-pressure applications require modified installation procedures and specialized components. These systems demand greater attention to detail and more robust hardware to handle increased stresses.
High-Pressure Requirements:
- Bolted clamps instead of wing-nut styles
- Higher torque specifications (up to 20 ft-lbs)
- Premium gasket materials (PTFE or Viton)
- More frequent inspection schedules
- Pressure testing before commissioning
High-pressure clamps utilize multiple bolts instead of wing nuts to distribute clamping forces evenly. These assemblies require torque wrenches and systematic tightening patterns to ensure proper installation.
Temperature Cycling Considerations
Systems experiencing temperature variations require special attention during installation. Thermal expansion and contraction affect gasket compression and clamp tension throughout operational cycles.
Temperature Compensation Strategies:
- Initial over-torquing to compensate for relaxation
- Periodic re-tightening during commissioning
- Gasket materials rated for temperature extremes
- Expansion joints in long piping runs
- Regular inspection during temperature cycles
Professional installations account for thermal effects during initial design and installation phases. This proactive approach prevents problems during operation while minimizing maintenance interventions.
Troubleshooting Common Installation Problems
Even experienced installers encounter problems requiring systematic troubleshooting approaches. Understanding common failure modes enables rapid problem resolution and prevents recurring issues.
Leak Identification and Resolution
Tri-clamp connections should provide zero-leak performance when properly installed. Any leakage indicates installation problems requiring immediate attention and correction.
Common Leak Causes:
- Insufficient torque allowing gasket movement
- Excessive torque damaging gasket material
- Contaminated ferrule surfaces preventing proper sealing
- Damaged or expired gaskets requiring replacement
- Misaligned components creating uneven compression
Systematic leak testing using appropriate methods identifies problem connections before system commissioning. Pressure testing with inert gas provides safe, effective leak detection without contamination risks.
Gasket Compression Issues
Proper gasket compression requires balancing adequate sealing force with material preservation. Both under-compression and over-compression create problems requiring corrective action.
Compression Problem Indicators:
- Visible gasket extrusion beyond ferrule faces
- Inadequate sealing despite proper torque
- Difficulty disassembling connections
- Rapid gasket deterioration or damage
- Inconsistent sealing performance
Visual inspection reveals most compression problems during installation. Properly compressed gaskets remain within ferrule boundaries while providing complete sealing around the circumference.
Component Compatibility Problems
Mixing components from different manufacturers occasionally creates compatibility issues despite industry standardization. These problems require careful analysis and appropriate corrective measures.
Compatibility Verification Methods:
- Dimensional inspection using precision gauges
- Test assembly before final installation
- Documentation of component specifications
- Supplier verification of standards compliance
- Systematic quality control procedures
Professional installations maintain detailed records of component sources and specifications. This documentation enables rapid problem resolution while supporting quality assurance programs.
Quality Control and Testing Procedures
Professional installations incorporate systematic quality control measures ensuring consistent results and reliable performance. These procedures prevent problems while supporting regulatory compliance requirements.
Pressure Testing Protocols
Systematic pressure testing validates installation quality while identifying potential problems before system commissioning. Professional protocols ensure thorough testing without safety risks.
Testing Procedure Elements:
- Initial visual inspection of all connections
- Low-pressure testing to identify obvious leaks
- Full-pressure testing under controlled conditions
- Documentation of test results and observations
- Corrective action for any identified problems
Pressure testing should use inert gases rather than compressed air to eliminate explosion risks. Test pressures typically exceed normal operating pressure by 150% to provide adequate safety margins.
Documentation and Traceability
Professional installations maintain comprehensive documentation supporting maintenance, troubleshooting, and regulatory compliance requirements. This documentation proves invaluable throughout system operational life.
Documentation Requirements:
- Component specifications and certifications
- Installation procedures and torque values
- Test results and acceptance criteria
- Maintenance schedules and procedures
- Change control for modifications
Digital documentation systems enable easy access and updates while supporting compliance requirements. Cloud-based systems provide backup and remote access capabilities for distributed operations.
Maintenance and Lifecycle Management
Properly installed tri-clamp connections require minimal maintenance when using quality components and following professional procedures. However, systematic maintenance programs ensure continued reliability and performance.
Inspection Schedules and Criteria
Regular inspection identifies developing problems before they cause system failures or contamination. Professional schedules balance inspection frequency with operational demands.
Inspection Elements:
- Visual examination for leaks or damage
- Torque verification using calibrated tools
- Gasket condition assessment
- Component wear evaluation
- Documentation of findings and actions
Daily visual inspections identify obvious problems requiring immediate attention. Weekly detailed inspections using tools and systematic procedures catch developing issues before they become critical.
Gasket Replacement Programs
Gasket replacement based on service life rather than failure prevents unexpected problems while maintaining system reliability. Professional programs balance replacement costs with downtime risks.
Replacement Considerations:
- Service life based on material and application
- Preventive replacement during scheduled maintenance
- Spare gasket inventory management
- Quality control for replacement materials
- Documentation of replacement activities
Gasket service life varies significantly based on materials, temperatures, chemicals, and cycling frequency. Professional installations maintain detailed records enabling optimization of replacement schedules based on actual performance data.
Advanced Applications and Specialized Techniques
Complex brewing systems require advanced tri-clamp techniques addressing unique challenges and requirements. These applications demand specialized knowledge and experience for successful implementation.
Steam Applications and High-Temperature Service
Steam cleaning and sterilization create demanding conditions requiring specialized gasket materials and installation techniques. These applications push tri-clamp systems to their performance limits.
High-Temperature Considerations:
- PTFE or specialty silicone gaskets for temperature resistance
- Increased inspection frequency due to thermal cycling
- Proper support to prevent thermal stress
- Documentation of temperature exposure history
- Specialized clamps for extreme service
Steam applications require careful attention to thermal expansion effects on clamp tension. Regular retorquing during initial operation prevents loosening due to thermal cycling.
CIP (Clean-in-Place) System Integration
Automated cleaning systems create unique requirements for tri-clamp installations. These systems must withstand chemical exposure while maintaining cleanability standards.
CIP Integration Requirements:
- Chemical-resistant gasket materials
- Proper drainage to prevent pooling
- Accessibility for manual cleaning verification
- Compatible materials throughout the system
- Documentation of cleaning validation
CIP systems expose tri-clamp connections to concentrated cleaning chemicals at elevated temperatures. Gasket selection must account for these conditions while maintaining food safety compliance.
Cost-Benefit Analysis and Investment Justification
Professional tri-clamp installations require significant upfront investment but provide long-term benefits through improved reliability, easier maintenance, and enhanced product quality.
Initial Investment Considerations
Tri-clamp systems cost more initially than threaded alternatives but provide superior long-term value through reduced maintenance and improved performance.
| Connection Type | Initial Cost | Installation Time | Maintenance Hours/Year | 10-Year Total Cost |
|---|---|---|---|---|
| NPT Threaded | $15 | 0.5 hours | 8 hours | $485 |
| Tri-Clamp | $45 | 0.25 hours | 2 hours | $345 |
| Welded | $85 | 2 hours | 0.5 hours | $215 |
These calculations include material costs, installation labor, and ongoing maintenance requirements. Tri-clamp systems provide optimal balance between performance and cost for most brewing applications.
Return on Investment Calculations
The investment in professional tri-clamp installation provides returns through reduced downtime, improved product quality, and lower maintenance costs. These benefits often justify initial cost premiums within the first year of operation.
ROI Factors:
- Reduced contamination risks
- Faster cleaning and maintenance
- Improved system reliability
- Enhanced product quality
- Regulatory compliance benefits
Professional installations tracking these metrics typically achieve payback periods of 12-18 months depending on system complexity and operational demands.
Mastering tri-clamp fitting installation represents a fundamental skill for professional brewing operations. The techniques and procedures outlined in this guide provide the foundation for creating reliable, sanitary connections that meet the highest industry standards.
Success requires attention to detail, proper tools, and systematic procedures that ensure consistent results across all installation activities. The investment in professional installation techniques pays dividends through improved system reliability, reduced maintenance requirements, and enhanced product quality.
Professional tri-clamp installations support the transition from amateur brewing setups to commercial-quality systems capable of producing consistent, high-quality products. The combination of proper gasket selection, controlled torque application, and systematic quality control creates connections that perform reliably throughout their operational life.
Whether upgrading existing systems or designing new installations, tri-clamp technology provides the foundation for professional brewing operations. The techniques and standards established through proper installation support long-term success while ensuring compliance with industry regulations and quality standards.
For comprehensive brewing system design and professional equipment selection, visit Brew My Beer for expert guidance on advanced brewing technologies and system optimization.
Author: Tyler Yeastman
Tyler Yeastman is a microbiologist who left his lab job to explore the fascinating world of wild fermentation. He maintains a library of over 100 isolated wild yeast strains and bacterial cultures collected from around the world. Tyler specializes in lambic-style beers, spontaneous fermentation, and mixed-culture brewing that produces complex, terroir-driven flavors. His home lab includes custom equipment for yeast propagation and analysis. Tyler frequently collaborates with local breweries to develop signature house cultures based on microorganisms native to their environments.
Email: tyler.yeastman@brewmybeer.online