
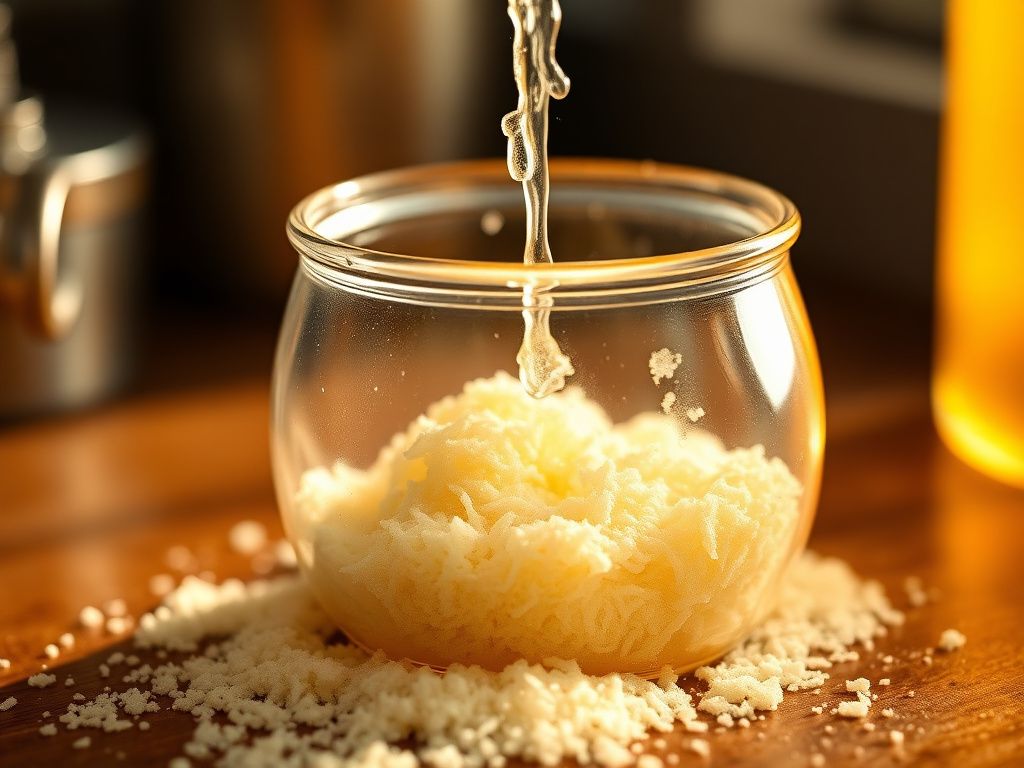
I’ve found that one of the most crucial steps in homebrewing is washing yeast properly without contamination. As a homebrewer, I’ve experienced my fair share of contaminated batches, which can be frustrating and disappointing. However, with the right techniques and equipment, it’s possible to wash yeast effectively and reuse it in future brews. In my experience, washing yeast can save time and money, and it also allows for more control over the fermentation process. Yeast is a vital component of brewing, and proper washing and handling can make a significant difference in the quality and consistency of the final product.
Washing yeast is essential for removing any unwanted bacteria, wild yeast, or other contaminants that may have developed during fermentation. If not removed, these contaminants can affect the flavor, aroma, and overall character of the beer. Moreover, contaminated yeast can lead to off-flavors, inconsistent fermentation, and even spoilage. By washing yeast properly, homebrewers can ensure that their yeast is healthy, viable, and free of contaminants, resulting in better-tasting beer and a more efficient brewing process. In this article, I’ll share my expertise on how to wash yeast properly without contamination, including the necessary equipment, step-by-step instructions, and best practices for storing washed yeast.
Understanding the Importance of Washing Yeast for Homebrewing
Washing yeast is a critical step in homebrewing, as it allows brewers to reuse their yeast and maintain consistency in their brews. Yeast is a living organism that can be sensitive to its environment, and washing it properly helps to remove any impurities that may have developed during fermentation. There are several types of yeast, including ale yeast, lager yeast, and wild yeast, each with its unique characteristics and requirements. By washing yeast, homebrewers can ensure that their yeast is healthy and viable, resulting in better fermentation, flavor, and overall beer quality. Furthermore, washing yeast can help to prevent contamination, which can be a significant problem in homebrewing. Contamination can occur through various means, including poor sanitation, infected equipment, or exposure to wild yeast and bacteria.
In my experience, washing yeast has several benefits, including cost savings, improved consistency, and increased control over the fermentation process. By reusing yeast, homebrewers can reduce their yeast costs and minimize waste. Additionally, washing yeast allows brewers to maintain a consistent flavor profile and character in their beers, which is essential for producing high-quality brews. Moreover, washing yeast provides homebrewers with more control over the fermentation process, enabling them to fine-tune their recipes and techniques to achieve the desired results. Overall, washing yeast is an essential step in homebrewing that can significantly impact the quality and consistency of the final product.
Preparing Equipment to Wash Yeast Properly Without Contamination
To wash yeast properly without contamination, it’s essential to have the right equipment and supplies. The necessary equipment includes a sanitized vessel, such as a food-grade plastic bucket or a glass carboy, a hydrometer, a thermometer, and a sanitized siphon or racking cane. Additionally, homebrewers will need a yeast washing solution, which typically consists of water and a small amount of sugar or malt extract. The equipment and supplies should be sanitized thoroughly before use to prevent contamination. I recommend using a sanitizer like bleach or Star San to sanitize all equipment and surfaces that will come into contact with the yeast.
| Equipment | Description |
|---|---|
| Sanitized vessel | A food-grade plastic bucket or a glass carboy |
| Hydrometer | A device used to measure the specific gravity of the yeast washing solution |
| Thermometer | A device used to measure the temperature of the yeast washing solution |
| Sanitized siphon or racking cane | A device used to transfer the yeast washing solution without introducing oxygen |
| Yeast washing solution | A solution consisting of water and a small amount of sugar or malt extract |
Step-by-Step Guide to Washing Yeast for Reuse in Brewing
Washing yeast is a relatively straightforward process that involves several steps. First, homebrewers should prepare their equipment and sanitize all surfaces and vessels that will come into contact with the yeast. Next, they should transfer the yeast from the fermenter to a sanitized vessel, taking care not to introduce oxygen or contaminants. The yeast should then be mixed with a yeast washing solution, which typically consists of water and a small amount of sugar or malt extract. The mixture should be stirred gently and allowed to settle for a period of time, usually 30 minutes to an hour, to allow the yeast to separate from any impurities.
- Transfer the yeast from the fermenter to a sanitized vessel
- Mix the yeast with a yeast washing solution
- Stir the mixture gently and allow it to settle for 30 minutes to an hour
- Separate the yeast from any impurities using a sanitized siphon or racking cane
- Transfer the washed yeast to a sanitized storage vessel
After the mixture has settled, homebrewers can separate the yeast from any impurities using a sanitized siphon or racking cane. The washed yeast should then be transferred to a sanitized storage vessel, where it can be stored for future use. It’s essential to handle the yeast gently and minimize exposure to oxygen to prevent contamination and ensure the yeast remains healthy and viable. I recommend storing the washed yeast in a refrigerator at a temperature range of 35-40°F (2-4°C) to slow down the yeast’s metabolism and prevent contamination.
Yeast Washing Solution Recipe
A typical yeast washing solution consists of water and a small amount of sugar or malt extract. The recipe can be adjusted based on the type of yeast and the desired level of sweetness. Here is a basic recipe for a yeast washing solution: 1 quart (1 L) of water, 1 tablespoon (15 g) of sugar or malt extract. The solution should be mixed well and sanitized before use. I recommend using a hydrometer to measure the specific gravity of the solution, which should be around 1.020-1.030.
Common Contamination Risks When Washing Yeast and How to Avoid Them
Contamination is a significant risk when washing yeast, and it can occur through various means, including poor sanitation, infected equipment, or exposure to wild yeast and bacteria. To avoid contamination, homebrewers should ensure that all equipment and surfaces are sanitized thoroughly before use. They should also handle the yeast gently and minimize exposure to oxygen to prevent contamination and ensure the yeast remains healthy and viable. Additionally, homebrewers should use a sanitized siphon or racking cane to transfer the yeast washing solution and prevent introducing oxygen or contaminants.
- Poor sanitation
- Infected equipment
- Exposure to wild yeast and bacteria
- Introduction of oxygen
- Contaminated yeast washing solution
To minimize the risk of contamination, I recommend using a sanitizer like bleach or Star San to sanitize all equipment and surfaces that will come into contact with the yeast. Homebrewers should also ensure that their yeast washing solution is sanitized and free of contaminants. Regularly cleaning and sanitizing equipment can help prevent contamination and ensure the yeast remains healthy and viable. Moreover, homebrewers should be aware of the signs of contamination, such as off-flavors, unusual aromas, or visible signs of mold or bacteria, and take prompt action to address any issues that arise.
Sanitization Techniques for Effective Yeast Washing and Storage
Sanitization is a critical step in washing yeast and storing it for future use. There are several sanitization techniques that homebrewers can use to ensure their equipment and yeast are free of contaminants. One common method is to use a sanitizer like bleach or Star San, which can be mixed with water to create a sanitizing solution. The solution should be applied to all equipment and surfaces that will come into contact with the yeast, and allowed to sit for a period of time before rinsing. I recommend using a sanitization schedule to ensure that all equipment is sanitized regularly and consistently.
| Sanitizer | Concentration | Contact Time |
|---|---|---|
| Bleach | 1 tablespoon (15 mL) per gallon (3.8 L) of water | 10-15 minutes |
| Star San | 1 ounce (30 mL) per 5 gallons (19 L) of water | 1-2 minutes |
Another method is to use heat to sanitize equipment and yeast. This can be done by submerging the equipment in boiling water or by using a heat sanitizer. Heat sanitization is effective against a wide range of contaminants, including bacteria, wild yeast, and mold. However, it’s essential to ensure that the equipment is not damaged by the heat, and that the yeast is not exposed to temperatures that can cause it to become stressed or die. I recommend using a thermometer to monitor the temperature and ensure that it does not exceed 180°F (82°C).
Best Practices for Storing Washed Yeast to Prevent Future Contamination
Once the yeast has been washed and sanitized, it’s essential to store it properly to prevent future contamination. Homebrewers should transfer the washed yeast to a sanitized storage vessel, such as a glass jar or a plastic container, and seal it tightly to prevent exposure to oxygen. The storage vessel should be labeled with the date, yeast type, and any other relevant information, and stored in a refrigerator at a temperature range of 35-40°F (2-4°C). I recommend using a yeast storage schedule to ensure that the yeast is used within a reasonable timeframe and that it is not allowed to become too old or stressed.
- Transfer the washed yeast to a sanitized storage vessel
- Seal the storage vessel tightly to prevent exposure to oxygen
- Label the storage vessel with the date, yeast type, and any other relevant information
- Store the yeast in a refrigerator at a temperature range of 35-40°F (2-4°C)
- Use the yeast within a reasonable timeframe, usually 2-6 months
By following these best practices, homebrewers can ensure that their washed yeast remains healthy and viable, and that it is free of contaminants. Regularly cleaning and sanitizing equipment, using a sanitized siphon or racking cane, and minimizing exposure to oxygen can all help to prevent contamination and ensure the yeast remains healthy. Moreover, homebrewers should be aware of the signs of contamination, such as off-flavors, unusual aromas, or visible signs of mold or bacteria, and take prompt action to address any issues that arise. With proper storage and handling, washed yeast can be reused multiple times, saving homebrewers time and money, and resulting in better-tasting beer.
Common Questions
Q: What is the best way to sanitize equipment for washing yeast?
A: The best way to sanitize equipment for washing yeast is to use a sanitizer like bleach or Star San, mixed with water according to the manufacturer’s instructions. The solution should be applied to all equipment and surfaces that will come into contact with the yeast, and allowed to sit for a period of time before rinsing.
Q: How often should I wash my yeast?
A: The frequency of washing yeast depends on several factors, including the type of yeast, the brewing schedule, and the level of contamination. As a general rule, yeast should be washed after every 3-5 generations, or when there are signs of contamination or stress.
Q: What is the best way to store washed yeast?
A: The best way to store washed yeast is to transfer it to a sanitized storage vessel, such as a glass jar or a plastic container, and seal it tightly to prevent exposure to oxygen. The storage vessel should be labeled with the date, yeast type, and any other relevant information, and stored in a refrigerator at a temperature range of 35-40°F (2-4°C).
Q: How long can I store washed yeast?
A: The length of time that washed yeast can be stored depends on several factors, including the type of yeast, the storage conditions, and the level of contamination. As a general rule, washed yeast can be stored for 2-6 months, but it’s essential to check the yeast regularly for signs of contamination or stress.
Q: Can I reuse yeast that has been contaminated?
A: No, it’s not recommended to reuse yeast that has been contaminated. Contaminated yeast can produce off-flavors, unusual aromas, or visible signs of mold or bacteria, and can affect the quality and consistency of the final product. If you suspect that your yeast has been contaminated, it’s best to discard it and start with a new batch.