

Prevent dangerous exploding bottles in your homebrewing with this comprehensive guide to bottle bombs. Learn the science behind overcarbonation, identify warning signs, and master prevention techniques ranging from proper fermentation verification to accurate priming sugar calculations. Essential safety knowledge for every homebrewer to protect both their beer and their brewing space.
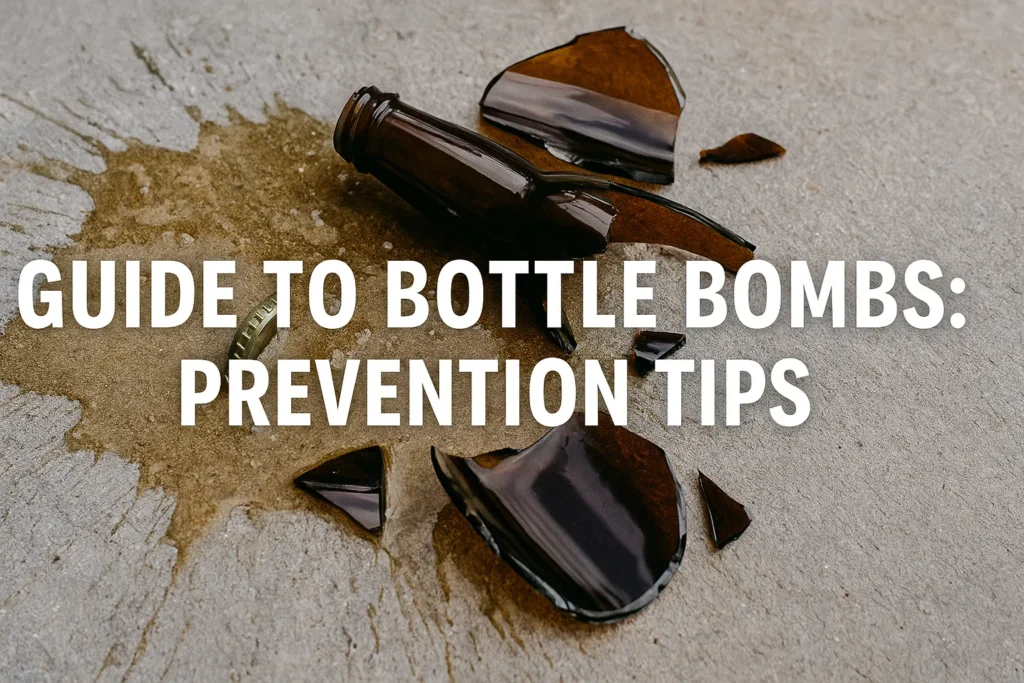
Few experiences are more disheartening for homebrewers than the dreaded bottle bomb—that unexpected explosion of glass and beer that can turn your carefully crafted brew into a dangerous projectile and sticky mess. Bottle bombs not only waste your precious homebrew but pose serious safety risks due to flying glass fragments. This comprehensive guide explores the causes of bottle bombs and provides practical prevention strategies to ensure your bottling experience remains safe and your beer stays where it belongs—in the bottle until you’re ready to enjoy it.
Understanding Bottle Bombs: What Are They and Why Do They Happen?
Bottle bombs occur when excessive pressure builds inside a bottle beyond what the glass can withstand. This typically happens during bottle conditioning, when yeast consumes residual or added sugar to produce carbon dioxide for carbonation. When pressure exceeds the bottle’s tolerance threshold (typically 3-4 volumes of CO₂ for standard beer bottles), the result is a dangerous explosion.
According to Mark Kegman, product testing expert at Brew My Beer, “Bottle bombs are almost always preventable with proper brewing practices. Understanding the science behind carbonation is the first step toward safe bottling.”
The Science Behind Bottle Bombs
Bottle bombs result from a simple but powerful chemical reaction. During bottle conditioning, yeast metabolizes fermentable sugars according to this basic equation:
C₆H₁₂O₆ (Sugar) → 2C₂H₅OH (Ethanol) + 2CO₂ (Carbon Dioxide)
One gram of fermentable sugar produces approximately 0.5 grams of CO₂. In a sealed bottle, this carbon dioxide creates pressure. The American Homebrewers Association notes that different beer bottles have different pressure tolerances:
| Bottle Type | Maximum Safe CO₂ Volumes | Typical Use |
|---|---|---|
| Standard Beer Bottles | 3-4 volumes | Most beer styles |
| Belgian/Champagne Bottles | 5-7 volumes | Belgian ales, bottle-conditioned specialty beers |
| Plastic PET Bottles | 3-4 volumes | Test bottles, low-risk storage |
| Swing-Top Bottles | 3-5 volumes | Various styles, easy opening/closing |
| Thin Glass Bottles | 2-3 volumes | Unsuitable for homebrewing |
Common Causes of Bottle Bombs
Understanding the root causes of bottle bombs is essential for prevention. Here are the most common culprits:
1. Incomplete Fermentation
When you bottle before fermentation is complete, residual sugars continue to ferment in the bottle, creating excessive pressure. This is perhaps the most common cause of bottle bombs among beginning brewers.
According to research published in the Journal of the Institute of Brewing, even a small amount of unexpected fermentable sugar can produce dangerous pressure levels. Just one Brix (roughly 10 grams/liter) of unfermented sugar can produce approximately 0.5 volumes of CO₂—enough to push a fully carbonated beer into the danger zone.
2. Infection by Wild Yeast or Bacteria
Microbial contamination can introduce organisms that ferment sugars your brewing yeast cannot, creating unexpected fermentation in the bottle. These infections often come with telltale off-flavors, but not always.
Tyler Yeastman, microbiology specialist, explains: “Wild yeasts like Brettanomyces and bacteria like Lactobacillus can ferment complex sugars that brewer’s yeast leaves behind. This ‘superattenuation’ can create dangerous pressure over time, sometimes months after bottling.”
3. Priming Sugar Calculation Errors
Adding too much priming sugar during bottling directly increases CO₂ production. Even small measurement errors can lead to significant overcarbonation.
4. Poor Priming Sugar Distribution
Uneven distribution of priming sugar results in some bottles receiving too much sugar, creating bombs, while others remain undercarbonated.
5. Temperature Fluctuations
Higher storage temperatures increase pressure in bottles both by accelerating fermentation and by expanding the CO₂ already in solution. According to the Brewers Association, pressure in bottles can increase by approximately 1.5 PSI for every 10°F increase in temperature.
6. Bottle Defects
Microscopic cracks, thin spots, or previous stress can compromise a bottle’s integrity, causing it to fail even under normal pressure conditions.
Warning Signs of Potential Bottle Bombs
Before catastrophic failure, bottles often exhibit warning signs that alert observant brewers to potential problems:
- Excessive carbonation in previously opened bottles from the same batch
- Bottles that are difficult to open or that “gush” when opened
- Bottles with caps that appear domed or bulging
- Unusual sediment patterns or floating particles that might indicate infection
- Off-flavors that suggest contamination (medicinal, barnyard, extremely sour)
- Visible leakage around caps
Prevention Strategies: How to Avoid Bottle Bombs
Preventing bottle bombs requires attention to detail throughout the brewing process. Here’s a comprehensive approach to ensuring bottle safety:
1. Confirm Complete Fermentation
Never rush to bottle before fermentation is complete. According to brewing consultant John Brewster, “Patience is the homebrewer’s most valuable ingredient when it comes to preventing bottle bombs.”
Use these techniques to verify complete fermentation:
Take Consistent Gravity Readings:
- Take readings over several days
- Bottles are generally safe when gravity remains stable for 2-3 consecutive days
- Final gravity should match expectations for your yeast strain and recipe
Use a Forced Fermentation Test: A forced fermentation test can predict your beer’s terminal gravity:
- Take a small sample of actively fermenting beer (around day 3-4)
- Place in a sanitized container with ample headspace
- Keep warm (75-80°F/24-27°C) and shake occasionally
- When gravity stabilizes (usually 2-3 days), this represents the lowest gravity your beer should reach
2. Calculate Priming Sugar Accurately
Proper carbonation begins with precise calculations. The amount of sugar needed depends on:
- Desired carbonation level for the style
- Beer temperature (CO₂ solubility varies with temperature)
- Volume of beer being packaged
- Residual CO₂ from fermentation
Use this simplified priming sugar table as a general guide:
| Beer Style | Target CO₂ Volumes | Corn Sugar (g/5 gal) | Table Sugar (g/5 gal) | DME (g/5 gal) |
|---|---|---|---|---|
| British Ales | 1.5-2.0 | 85-113 | 78-105 | 142-190 |
| American Ales | 2.2-2.7 | 125-150 | 115-140 | 210-255 |
| Belgian Ales | 2.8-3.5 | 156-195 | 145-180 | 265-330 |
| German Weizen | 3.3-4.5 | 185-252 | 170-233 | 310-420 |
For precise calculations, consider using priming sugar calculators from reliable sources like the Brewer’s Friend Priming Calculator, which accounts for all relevant variables.
3. Ensure Even Sugar Distribution
Uneven sugar distribution creates inconsistent carbonation and potential bottle bombs:
- Create a Priming Solution: Dissolve your priming sugar in a small amount of boiling water (about 2 cups), allow to cool, then add to the bottling bucket.
- Gentle but Thorough Mixing: Transfer your beer onto the priming solution using the siphon’s flow to create a gentle swirling effect.
- Avoid Disturbing Trub: When transferring from fermenter to bottling bucket, be careful not to pick up yeast sediment.
4. Practice Excellent Sanitation
Preventing microbial contamination is critical:
- Use appropriate sanitizers like Star San or iodophor at the correct concentrations.
- Sanitize all equipment that contacts your beer post-boil.
- Pay special attention to bottles, caps, fillers, and transfer tubing.
- Consider using a bottling wand with a fill-level indicator to reduce oxygen exposure.
According to research published by the Craft Beer & Brewing Magazine, over 60% of homebrewing contamination occurs during the packaging process, making bottling day sanitation particularly crucial.
5. Use Appropriate Bottles
Not all bottles are created equal:
- Use only bottles designed for carbonated beverages.
- Inspect each bottle for chips, cracks, or thin spots.
- Consider Belgian or champagne-style bottles for higher-carbonation styles.
- Dispose of any bottles that have previously held a bottle bomb.
6. Control Storage Temperature
Carbonation and pressure are directly affected by temperature:
- Condition bottles at a moderate, stable temperature (65-70°F/18-21°C).
- Once carbonated, refrigerate bottles to reduce pressure and slow any ongoing fermentation.
- Never leave bottles in hot cars, garages, or direct sunlight.
7. Use Test Bottles
Plastic PET bottles can serve as “canaries in the coal mine”:
- Include a few plastic bottles in each batch.
- Check firmness regularly—when they become hard, your beer is carbonated.
- Excessive firmness or distortion may indicate potential overcarbonation.
8. Consider Alternative Techniques
For brewers who struggle with consistent bottle conditioning, consider:
- Counter-pressure bottling from kegs for precise carbonation
- Force carbonation in kegs before bottling
- Adding fresh yeast at bottling for beers that have aged or undergone long cold storage
- Using non-fermentable sweeteners for sweet styles to avoid additional fermentation
Troubleshooting: What To Do When You Suspect Bottle Bombs
If you suspect you may have potential bottle bombs, immediate action can prevent injury and mess:
1. Safety First
- Wear eye protection and heavy gloves when handling suspicious bottles.
- Never point bottles toward yourself or others when opening.
- Consider using a plastic tub with a lid as a containment vessel.
2. Refrigerate Immediately
Cold temperatures reduce pressure and slow yeast activity:
- Carefully move bottles to refrigeration.
- Open one bottle after 24 hours of refrigeration to check carbonation levels.
3. Controlled Release
For excessively carbonated beer you wish to save:
- Refrigerate for 24+ hours.
- Place bottles in a large plastic container.
- Very slowly release pressure by partially opening caps, allowing CO₂ to escape gradually.
- Recap if necessary or consume immediately.
4. Emergency Disposal
For truly dangerous bottles:
- Place in a sturdy cooler or closed plastic tub.
- Transport to an outdoor area.
- Use a long-handled tool to open from a distance.
- Alternative: place in heavy-duty trash bags surrounded by towels and dispose of properly.
Beyond Safety: Fine-Tuning Your Carbonation
Once you’ve mastered the basics of safe bottle conditioning, you can focus on optimizing carbonation for different styles:
Carbonation by Style
Different beer styles traditionally have different carbonation levels:
| Style Category | CO₂ Volumes | Mouthfeel Characteristics |
|---|---|---|
| English Bitter, Porter | 1.5-2.0 | Gentle, subtle carbonation |
| American Pale Ale, IPA | 2.2-2.7 | Moderate, balanced effervescence |
| Belgian Tripel, Saison | 2.8-3.4 | Highly effervescent, champagne-like |
| Hefeweizen, Witbier | 3.3-4.5 | Very lively, fluffy head |
Advanced Techniques for Precise Carbonation
Natural Conditioning with DME: Using dry malt extract instead of simple sugars provides more consistent results for some brewers due to its more predictable fermentation profile.
Krausening: This traditional German technique uses actively fermenting beer as a natural priming agent:
- Reserve 10-20% of actively fermenting wort
- Add to fully fermented beer at bottling
- Results in extremely fine, natural carbonation
Bottle Conditioning with Champagne Yeast: For high-ABV beers where original yeast may be stressed:
- Add a small amount of champagne yeast at bottling
- Provides reliable carbonation without affecting flavor
- Particularly useful for barleywines and imperial styles
When Bottle Bombs Are a Learning Opportunity
Even experienced brewers occasionally face bottle bombs. Sophia Chen, beer chemistry specialist, suggests treating these incidents as valuable learning experiences: “Document every aspect of batches that develop problems. Over time, patterns emerge that can improve your brewing process beyond just avoiding bottle bombs.”
Consider keeping records of:
- Fermentation temperature curves
- Gravity readings throughout fermentation
- Priming sugar calculations
- Storage conditions
- Time to carbonation
- Any flavor defects
This data helps identify recurring issues that might extend beyond carbonation problems.
Bottle bombs represent a challenging but ultimately manageable aspect of homebrewing. By understanding the science behind carbonation, implementing proper techniques, and maintaining vigilant quality control, you can virtually eliminate the risk of these dangerous explosions.
The key takeaways for preventing bottle bombs are:
- Verify complete fermentation before bottling
- Calculate priming sugar accurately based on style and conditions
- Ensure even distribution of priming sugar
- Maintain scrupulous sanitation to prevent infections
- Use appropriate bottles and caps
- Control storage temperatures
- Monitor carbonation development
By following these guidelines, you’ll not only avoid the safety hazards and wasted beer of bottle bombs but also develop more consistently carbonated, higher-quality homebrew. Remember that proper bottle conditioning is both a science and an art—one that rewards patience, attention to detail, and a commitment to good brewing practices.
About the Author:
Mark Kegman spent 15 years as a mechanical engineer before turning his analytical mind to brewing equipment. His methodical approach to testing and reviewing brewing gear has earned him a reputation for thorough, unbiased assessments. Mark maintains a fully equipped home brewery lab where he puts everything from budget starter kits to professional-grade systems through rigorous testing protocols. He’s particularly passionate about helping brewers find the best value equipment and innovative solutions for small-space brewing setups. His detailed comparison videos have amassed over 2 million views online.