

Learn how to use keg line balancing calculators to achieve perfect beer pours. Discover formulas, resistance values, and expert tips for optimal draft system performance with zero foam issues.
Pouring the perfect pint isn’t just about having quality beer—it’s about having a properly balanced draft system. Whether you’re a homebrewer with a kegerator or managing a commercial setup, understanding keg line balancing calculators can transform your pouring experience from frustrating foam explosions to silky smooth, professional-quality pours.
What is Keg Line Balancing?
Keg line balancing is the science of matching the pressure pushing beer through your system with the resistance that slows it down. Just like a garage door, a well-designed draft system successfully balances two opposing forces: the gas pressure propelling beer from keg to glass, and the total resistance trying to keep beer from moving forward through your system.
When these forces are properly balanced, you achieve an industry-standard flow rate of approximately 128 oz/min or approximately 1 gallon/min, ensuring consistent pours without excessive foam or frustratingly slow trickles.
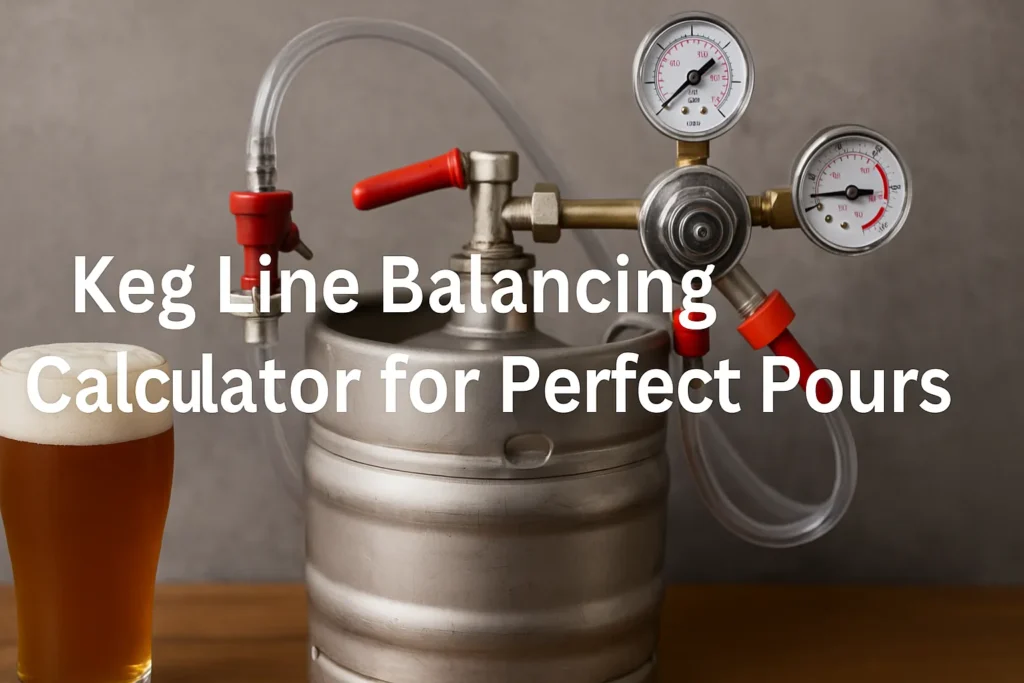
🍺 Keg Line Balancing Calculator
Calculate the perfect beer line length for foam-free pours
Quick Reference: Common Beer Line Resistance Values
| Line Type | Inner Diameter | Resistance (lbs/ft) |
|---|---|---|
| Vinyl Tubing | 3/16″ | 2.2 – 3.0 |
| Vinyl Tubing | 1/4″ | 0.85 |
| Vinyl Tubing | 5/16″ | 0.4 |
| Barrier Tubing | 5/16″ | 2.8 |
System Parameters
📊 Calculation Results
The Science Behind Beer Line Resistance
Understanding System Pressure
Gauge Pressure is the actual pounds per square inch gauge (PSIG) pressure of 100% CO2 applied to the keg. This propels (pushes) the beer through the system. The CO2 pressure serves two critical functions:
- Carbonation Maintenance: Prevents your beer from going flat
- Flow Propulsion: Pushes beer from keg to faucet
The required pressure depends on your beer’s carbonation level and temperature. For most ales (including pale ales, IPAs, ambers, etc.) that come from the brewery with a carbonation volume of about 2.1 to 2.6, you want to set your regulator from about 7 to 13 psi.
Beer Line Resistance Values
Different tubing materials and diameters create varying amounts of resistance. Here’s a comprehensive chart of common beer line resistance values:
| Line Type | Inner Diameter | Resistance (lbs/ft) |
|---|---|---|
| Vinyl Tubing | 3/16″ | 2.2 – 3.0 |
| Vinyl Tubing | 1/4″ | 0.85 |
| Vinyl Tubing | 5/16″ | 0.4 |
| Vinyl Tubing | 3/8″ | 0.2 |
| Stainless Steel | 3/16″ | 2.7 |
| Barrier Tubing | 5/16″ | 2.8 |
Important Note: Some say 3, some say 2.2, and some say 2.7 for 3/16″ tubing resistance. Most professionals use 2.2-3.0 lbs/ft for calculations, with 3/16″ line provides 2.2 lbs of restriction per foot being widely accepted.
Essential Beer Line Balancing Formula
The fundamental formula for calculating proper beer line length is:
L = (Keg Pressure – 1 – (Height ÷ 2)) ÷ Resistance
Where:
- L = Beer line length in feet
- Keg Pressure = CO2 pressure from regulator (PSI)
- Height = Vertical rise from keg center to faucet (feet)
- Resistance = Line resistance value (lbs/ft)
Practical Example
Let’s calculate line length for a typical homebrewing setup:
- Keg pressure: 12 PSI
- Height difference: 2 feet (keg to tap)
- Line type: 3/16″ vinyl (2.2 lbs/ft resistance)
Calculation: L = (12 – 1 – (2 ÷ 2)) ÷ 2.2 = (12 – 1 – 1) ÷ 2.2 = 10 ÷ 2.2 = 4.5 feet
Advanced Pressure Formula for Complex Systems
For long-draw systems or commercial setups, use this comprehensive formula:
Pressure = (Line Length × Line Resistance) + (Gravity × 0.5) + Static Hardware Resistance
All you need is 3 factors: Length of Beer Line, Line Resistance, and Gravity to determine appropriate system pressure.
Gravity Impact Calculations
For every foot of height between the keg and the faucet, gravity reduces the effective pressure by about 0.5 pounds per square inch. This means:
- Upward runs: Add 0.5 PSI resistance per foot
- Downward runs: Subtract 0.5 PSI resistance per foot
- Level runs: No gravity adjustment needed
Beer Line Balancing Calculator Tool
While manual calculations work perfectly, online beer line balancing calculators simplify the process. So I made this calculator by combining the Bernoulli, Darcy Weisbach, and Swamee-Jain equations to help you calculate your perfect kegerator hose length.
Quality calculators consider:
- Beer style and carbonation level
- Serving temperature
- Line diameter and material
- System elevation changes
- Target flow rate
For comprehensive brewing calculations and system optimization, visit Brew My Beer for additional tools and resources.
Common Beer Line Balancing Problems and Solutions
Problem 1: Excessive Foam
Symptoms: Every pour produces excessive foam, wasting beer Causes:
- Line too short for system pressure
- Beer too warm
- Over-carbonated beer
Solutions:
- Increase line length by 2-3 feet
- Lower serving temperature to 38°F
- Reduce CO2 pressure (if carbonation allows)
Problem 2: Slow, Trickling Pours
Symptoms: Beer pours extremely slowly Causes:
- Line too long for system pressure
- Insufficient pressure
- Line diameter too small
Solutions:
- Shorten line length
- Increase CO2 pressure
- Use larger diameter tubing (1/4″ instead of 3/16″)
Problem 3: Inconsistent Pours
Symptoms: First pour foamy, subsequent pours normal Causes:
- Warm beer lines
- Temperature fluctuations
- Poor tower insulation
Solutions:
- Insulate beer lines properly
- Add thermal mass to tower
- Ensure consistent refrigeration
Beer Style-Specific Balancing Guidelines
Different beer styles require specific carbonation levels, affecting your balancing calculations:
| Beer Style | CO2 Volumes | Typical Pressure | Recommended Line |
|---|---|---|---|
| English Ales | 1.8-2.3 | 8-11 PSI | 3-4 feet (3/16″) |
| American Lagers | 2.4-2.6 | 10-14 PSI | 4-5 feet (3/16″) |
| German Wheat | 2.8-3.2 | 14-18 PSI | 5-6 feet (3/16″) |
| Belgian Ales | 3.0-3.5 | 16-20 PSI | 6-7 feet (3/16″) |
Professional Tips for Perfect Balance
Temperature Control
Temperature also greatly affects the amount of CO2 gas that is absorbed into the liquid beer. The lower the temperature, the more easily the beer accepts CO2. Maintain consistent 38°F serving temperature for optimal results.
Line Selection Strategy
For most home kegerator systems, or systems with a short (<8′) distance to travel: 3/16″ tubing is pretty standard. However, consider these upgrades:
- Barrier tubing: Prevents CO2 permeation, maintaining carbonation longer
- Stainless steel: Easy cleaning, no flavor transfer
- Larger diameter: For long-distance runs or high-pressure systems
Hardware Considerations
Don’t forget that faucets and shanks add resistance too:
- A standard beer faucet has a resistance of 2 PSI (13.8 kPa); the shank adds another 1 PSI (6.9 kPa)
- Factor these into your calculations for precision balancing
Troubleshooting Advanced Systems
Long-Draw Systems
For runs exceeding 25 feet, consider:
- Blended gas (CO2/Nitrogen) to prevent over-carbonation
- Larger trunk lines (3/8″ or 1/2″) with restriction coils
- Secondary cooling systems for temperature maintenance
Multi-Tap Systems
When serving multiple beer styles:
- Use separate regulators for different pressure requirements
- Calculate each line independently
- Consider manifold systems for gas distribution
Altitude Adjustments
Correct for altitude by adding one pound of psi gauge pressure every 2000′ above sea level. High-altitude brewers need slightly higher pressures to maintain proper carbonation levels.
Maintenance for Consistent Performance
Regular maintenance ensures your balanced system stays balanced:
Weekly Tasks
- Check CO2 pressure settings
- Verify temperature consistency
- Clean faucets and beer lines
Monthly Tasks
- Deep clean all beer lines
- Inspect seals and connections
- Recalibrate pressure if needed
Seasonal Tasks
- Replace worn tubing
- Service CO2 regulators
- Update calculations for new beer styles
Tools and Equipment for Line Balancing
Essential equipment for proper system balancing:
Measurement Tools
- Digital pressure gauge
- Line length measuring tape
- Temperature probe
- Flow rate measuring cup
Calculation Resources
- Beer line calculators for complex equations
- Carbonation charts for pressure/temperature relationships
- Resistance value references
Future-Proofing Your System
When designing your draft system, consider:
Expandability
- Plan for additional taps
- Size CO2 supply appropriately
- Leave room for line routing
Flexibility
- Use modular connections
- Install multiple pressure zones
- Consider adjustable restriction valves
Mastering keg line balancing calculators transforms your draft experience from guesswork to precision science. By understanding the relationship between pressure, resistance, and flow rate, you can achieve consistent, professional-quality pours every time.
The key is starting with accurate measurements, using proven formulas, and making systematic adjustments. Whether you’re using a simple calculator or performing manual calculations, the principles remain the same: balance pressure with resistance for optimal flow.
Remember that perfect balance takes patience and fine-tuning. Start with calculated values, then make small adjustments based on actual performance. With proper balancing, you’ll pour perfect pints that showcase your beer’s true character while minimizing waste and maximizing enjoyment.
For more brewing insights, equipment reviews, and advanced techniques, explore our comprehensive guides at Brew My Beer, where we help brewing enthusiasts achieve professional results at home.
About the Author
Mark Kegman is a product testing and review expert with over 15 years of experience as a mechanical engineer. His analytical approach to brewing equipment has earned him recognition for thorough, unbiased assessments. Mark maintains a fully equipped home brewery lab where he puts everything from budget starter kits to professional-grade systems through rigorous testing protocols, helping brewers find the best value equipment and innovative solutions for small-space brewing setups.