

Master the art of using a refractometer in homebrewing with our comprehensive guide. Learn calibration techniques, alcohol correction formulas, and advanced applications to improve your brewing precision and efficiency. Perfect for both beginners and experienced brewers looking to upgrade from hydrometers.
Measuring the sugar content of your wort or beer is a crucial step in the brewing process, and a refractometer is one of the most efficient tools to accomplish this task. Unlike its counterpart, the hydrometer, a refractometer requires only a few drops of liquid and provides instant readings without the need for temperature corrections. In this comprehensive guide, we’ll explore everything you need to know about using a refractometer in brewing, from basic principles to advanced techniques.
What Is a Refractometer and How Does It Work?
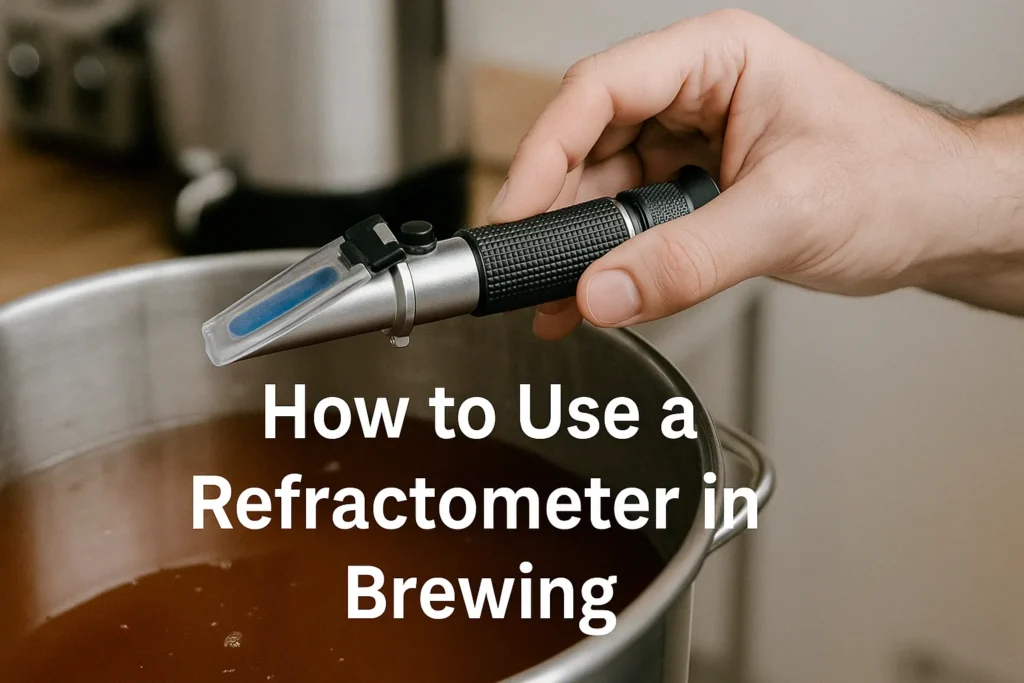
A refractometer is an optical instrument that measures the refractive index of a liquid. When light passes from one medium (air) to another (wort or beer), it bends or “refracts.” The angle of this refraction depends on the concentration of dissolved solids in the liquid – primarily sugars in brewing applications.
Refractometers designed for brewing typically display readings in Brix (°Bx) or Specific Gravity (SG). One degree Brix equals 1 gram of sucrose in 100 grams of solution, which means a 10°Brix solution contains 10% sucrose by weight.
Why Use a Refractometer Instead of a Hydrometer?
There are several advantages to using a refractometer over the traditional hydrometer:
| Refractometer | Hydrometer |
|---|---|
| Requires only a few drops of sample | Requires 100-250mL of sample |
| Provides instant readings | May require temperature corrections |
| Can be used with hot wort safely | Risk of breaking with hot samples |
| Portable and compact | Larger and more fragile |
| More accurate at higher gravity readings | Less accurate at very high gravities |
According to the American Homebrewers Association, refractometers have become increasingly popular among both beginner and advanced homebrewers due to their convenience and accuracy. As Beerandbrewing.com reports, “Sample size is one of the biggest advantages of a refractometer over a hydrometer, especially during the mashing and boiling process.”
Types of Brewing Refractometers
Several types of refractometers are available for brewing applications:
- Analog Refractometers: These traditional optical instruments have a scale visible through an eyepiece.
- Digital Refractometers: These provide digital readouts and often include automatic temperature compensation.
- Dual-Scale Refractometers: These show both Brix and Specific Gravity readings.
Among these, dual-scale analog refractometers are the most popular among homebrewers due to their affordability and reliability. According to a survey conducted by the Homebrewers Association, approximately 68% of serious homebrewers own a refractometer, with dual-scale models being the most common choice.
How to Calibrate Your Refractometer
Proper calibration is essential for accurate readings. Here’s how to calibrate your refractometer:
Materials Needed:
- Distilled water
- Small pipette or dropper
- Soft cloth for cleaning
- Screwdriver (if your refractometer has an adjustment screw)
Calibration Steps:
- Clean the prism: Use a soft cloth dampened with distilled water to clean the prism surface thoroughly.
- Apply distilled water: Place 2-3 drops of distilled water on the prism.
- Close the cover plate: This spreads the water in an even layer across the prism.
- Point toward a light source: Hold the refractometer up to a light source and look through the eyepiece.
- Adjust if necessary: If the reading isn’t exactly 0°Brix (1.000 SG), use the calibration screw to adjust until it reads zero.
- Repeat if necessary: For best results, repeat the process 2-3 times to ensure consistent calibration.
Tyler Yeastman, a microbiology expert at Brew My Beer, recommends calibrating your refractometer before each brewing session: “Even small deviations in calibration can lead to significant errors in gravity readings, potentially affecting your calculations for alcohol content and fermentation progress.”
Using a Refractometer During the Brewing Process
A refractometer can be used at multiple stages throughout the brewing process:
1. Mashing
During mashing, you can take periodic readings to monitor the conversion of starches to sugars:
- Take a small sample of wort using a clean dropper.
- Allow it to cool slightly (though refractometers can handle hot wort).
- Place 2-3 drops on the prism and close the cover.
- Read the Brix or gravity value.
This allows you to track the progress of your mash without removing large samples that would cool your mash tun.
2. Pre-Boil Measurements
Before starting your boil, take a reading to determine your pre-boil gravity:
- Mix the wort thoroughly to ensure even distribution of sugars.
- Take a small sample and place it on the refractometer.
- Record the reading as your pre-boil gravity.
This measurement helps you calculate your mash efficiency and predict your final gravity after the boil.
3. Post-Boil Measurements
After the boil, take another reading to determine your original gravity (OG):
- Cool a small sample to avoid steam fogging the prism.
- Place 2-3 drops on the refractometer.
- Record this reading as your original gravity.
According to research published in the Journal of the American Society of Brewing Chemists, refractometers are particularly valuable for post-boil measurements, as they allow brewers to quickly determine if they’ve hit their target gravity without waiting for large samples to cool.
4. Fermentation Monitoring
This is where using a refractometer gets slightly more complex. Once alcohol is present in your beer, the refractometer readings become skewed because alcohol has a different refractive index than water and sugar.
To use a refractometer during fermentation:
- Take a reading as you normally would.
- Apply a correction formula or use an online calculator to account for the presence of alcohol.
Refractometer Correction for Alcohol
The presence of alcohol affects refractometer readings, requiring a correction. Several formulas exist, but one of the most widely accepted comes from brewing scientist Sean Terrill:
Corrected SG = 1.000 + (0.1808 × OBrix) + (0.002093 × FBrix) – (0.00004184 × OBrix × FBrix)
Where:
- OBrix = Original Brix reading (before fermentation)
- FBrix = Current Brix reading (during/after fermentation)
For those who prefer to avoid complex calculations, numerous online calculators and brewing software packages can perform these corrections automatically. Popular options include:
- Brewer’s Friend Refractometer Calculator
- BeerSmith Brewing Software
- Brewfather App
Mark Kegman, product testing expert, notes that “While the mathematics behind refractometer corrections might seem daunting, online calculators have made this process extremely simple. Just remember to always use the same instrument for all your measurements throughout a single batch to maintain consistency.”
Common Issues and Troubleshooting
Even the best refractometers can encounter problems. Here are some common issues and how to address them:
1. Blurry or Unclear Readings
Possible causes:
- Dirty prism
- Insufficient sample volume
- Poor lighting
Solutions:
- Clean the prism thoroughly with distilled water
- Use 2-3 fresh drops of your sample
- Ensure adequate light is available for reading
2. Inconsistent Readings
Possible causes:
- Poor calibration
- Stratified wort (uneven sugar distribution)
- Temperature variations
Solutions:
- Recalibrate with distilled water
- Stir wort thoroughly before sampling
- Allow hot samples to cool slightly before reading
3. Readings Don’t Match Hydrometer
Possible causes:
- Calibration issues
- Different scales (Brix vs. SG)
- Alcohol correction needed
Solutions:
- Cross-calibrate both instruments with a sugar solution of known concentration
- Convert between scales correctly (1°Brix ≈ 1.004 SG)
- Apply alcohol correction formulas for fermenting beer
According to a technical paper in the Master Brewers Association of the Americas Technical Quarterly, differences between refractometer and hydrometer readings of up to 0.002 SG are considered normal due to the inherent precision limitations of both instruments.
Advanced Refractometer Techniques
Once you’re comfortable with basic refractometer usage, consider these advanced techniques:
1. Calculating Apparent Attenuation in Real-Time
By tracking both original gravity (OG) and current gravity readings throughout fermentation, you can calculate apparent attenuation:
Apparent Attenuation = (OG – Current Gravity) / (OG – 1) × 100%
This allows you to monitor fermentation progress without waiting for your hydrometer sample to come to the correct temperature.
2. Predicting Final Gravity
Based on the attenuation rates of specific yeast strains, you can use refractometer readings to predict when fermentation will complete:
- Research the typical attenuation range for your yeast strain.
- Monitor the gravity drop using your refractometer (with alcohol correction).
- Predict the final gravity based on the expected attenuation.
3. Measuring Sugar Additions
When adding honey, fruit, or other fermentable adjuncts to beer:
- Take a refractometer reading before the addition.
- Add the adjunct and mix thoroughly.
- Take another reading to quantify exactly how much fermentable sugar was added.
- Use this information to predict the impact on final ABV.
Sofia Chen, beer chemistry specialist, emphasizes the importance of this technique: “Many brewers underestimate the impact of fruit additions on final ABV. Using a refractometer to measure the exact gravity increase helps prevent unexpectedly high alcohol levels in fruit beers or meads.”
Refractometer Maintenance and Care
Proper care extends the life and accuracy of your refractometer:
- Clean after each use: Wipe the prism with distilled water and a soft cloth.
- Store properly: Keep in its case or a dust-free environment.
- Avoid extreme temperatures: Don’t leave in direct sunlight or freezing conditions.
- Check calibration regularly: Verify with distilled water before brewing sessions.
- Replace the battery (if digital): Follow manufacturer’s recommendations.
Comparing Popular Brewing Refractometers
When shopping for a refractometer, consider these popular options:
| Model | Type | Scale | ATC | Price Range | Notable Features |
|---|---|---|---|---|---|
| Milwaukee MA871 | Digital | Brix | Yes | $$$$ | High precision (±0.2% Brix) |
| Brew Tapper Dual Scale | Analog | Brix/SG | Yes | $$ | Rubber grip, carrying case |
| RHB-32ATC | Analog | Brix/SG | Yes | $ | Budget-friendly, popular choice |
| REED Instruments R9600 | Digital | Brix | Yes | $$$$ | Waterproof design |
ATC = Automatic Temperature Compensation
According to a review by BeerCraftr, “The RHB-32ATC offers the best value for most homebrewers, providing sufficient accuracy without breaking the bank.”
A refractometer is an invaluable tool for any serious brewer, providing quick and accurate gravity readings throughout the brewing process. With proper calibration, alcohol correction, and maintenance, it can significantly streamline your brewing procedures and help you achieve more consistent results.
Whether you’re a beginner looking to upgrade from a hydrometer or an experienced brewer seeking more efficient measuring methods, a refractometer is well worth the investment. The ability to take readings with minimal sample volume and without temperature corrections makes it particularly valuable during hot-side operations like mashing and boiling.
Remember that while refractometers excel in many aspects, they work best as part of a complete toolkit that may still include a hydrometer for certain applications. As with any brewing tool, understanding its strengths and limitations is key to using it effectively.
About the Author:
Mark Kegman spent 15 years as a mechanical engineer before turning his analytical mind to brewing equipment. His methodical approach to testing and reviewing brewing gear has earned him a reputation for thorough, unbiased assessments. Mark maintains a fully equipped home brewery lab where he puts everything from budget starter kits to professional-grade systems through rigorous testing protocols. He’s particularly passionate about helping brewers find the best value equipment and innovative solutions for small-space brewing setups. His detailed comparison videos have amassed over 2 million views online.